Getting Started with .NET


This is going to be my first tutorial series where I will be making posts about learning .Net and C#.
We will also be learning Object Oriented Programming using C# and .Net and also probably going to make a project in it.
I am myself also learning .NET and hoping to teach to the best of my abilities. I intend to make these series very simple and easy to read so that anyone who reads this tutorial can benefit from it, be it anyone from Beginners to Expert level.
This series is completely my work and I am writing all of this content up to the best of my understanding of the technologies and blogs I have read and comprehend. So without wasting anytime lets get started with a motivational quote.
"Whatever you hold in your mind on a consistent basis is exactly what you will experience in your life." —Tony Robbins #Motivation #DailyDose #MondayMotivation #BoostUpLife #Inspiration #Coding #Iamthebest
— Mayank Khanna (@khannamayank98) February 10, 2020
1. Installing .NET on your machine
The first step to learning and start building .NET apps is installing .NET Core SDK i.e .NET Core Software Development Kit.
You can download the same from the official Microsoft Website and follow the official documentation to install .NET on your respective machines - Windows, MAC, Linux from here.
Check if everything is installed correctly
Once everything is installed run the following command to verify if everything is installed correctly.
Open a new terminal and write:
~$ dotnet
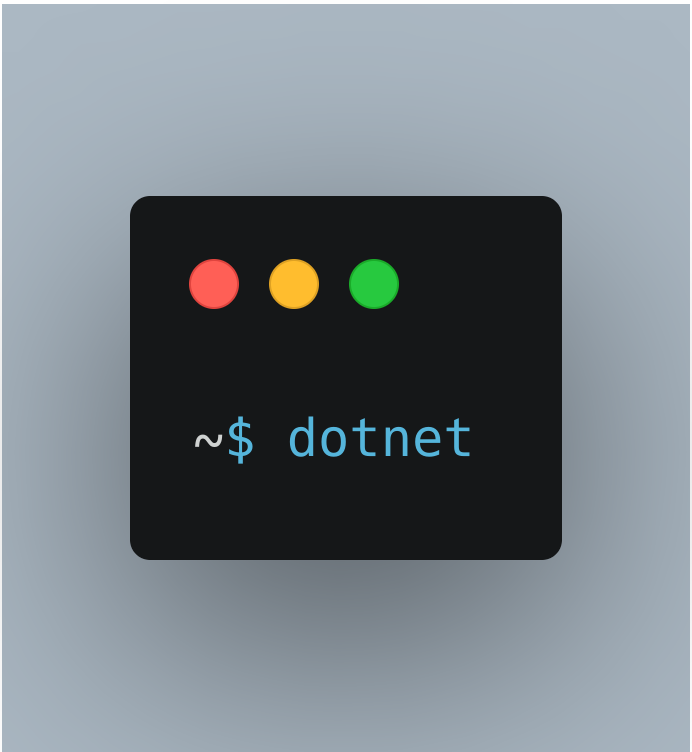
Now if the command runs printing the information on how to use dotnet, Voila you have successfully installed .NET on your machine.
If you receive a 'dotnet' is not recognized as an internal or external command error, make sure you opened a new command prompt. If you can’t resolve the issue, try uninstalling and installing it again and try to run the command as administrator in case of Windows and sudo in case of Mac and Linux.
2. Creating a new App
In the terminal that you opened, run the following commands:
~$ dotnet new console -o myApp
~$ cd myApp
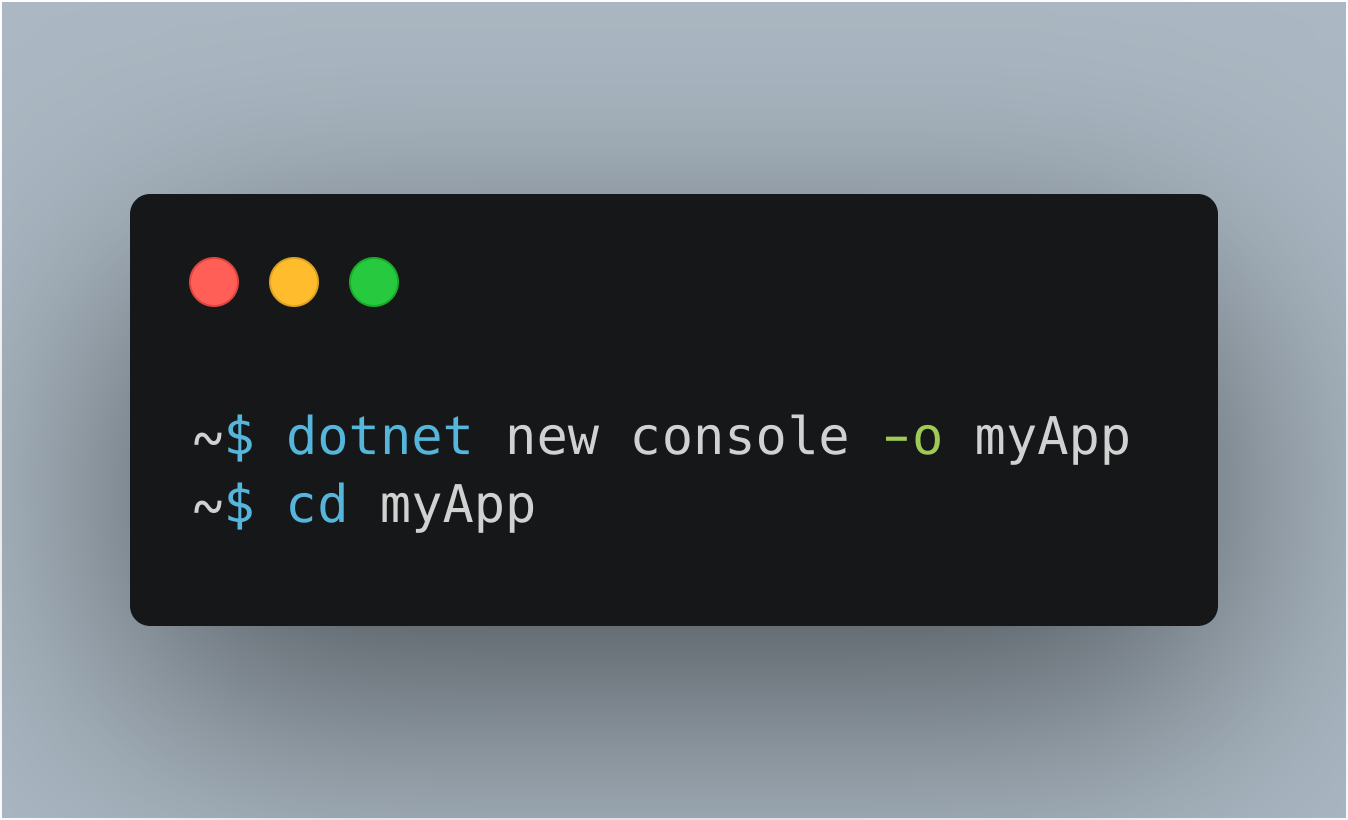
What the dotnet command does is, it creates a new application of type console for you. The -o parameter creates a directory named myApp where your app is stored, and populates it with the required files. The cd myApp command puts you into the newly created app directory.
The main file in the project folder, myApp is the Program.cs. Note that .cs files stand for C#: C Sharp.
Program.cs contains all the code by default to print/ write Hello World! to the Console. Here is the code that will be present in your file.
using System;

namespace myApp
{
    class Program
    {
        static void Main(string[] args)
        {
            Console.WriteLine("Hello World!");
        }
    }
}
3. Run your App
Now, in the terminal write the following command:
~$ dotnet run

If the terminal shows a result like this:
Hello World!
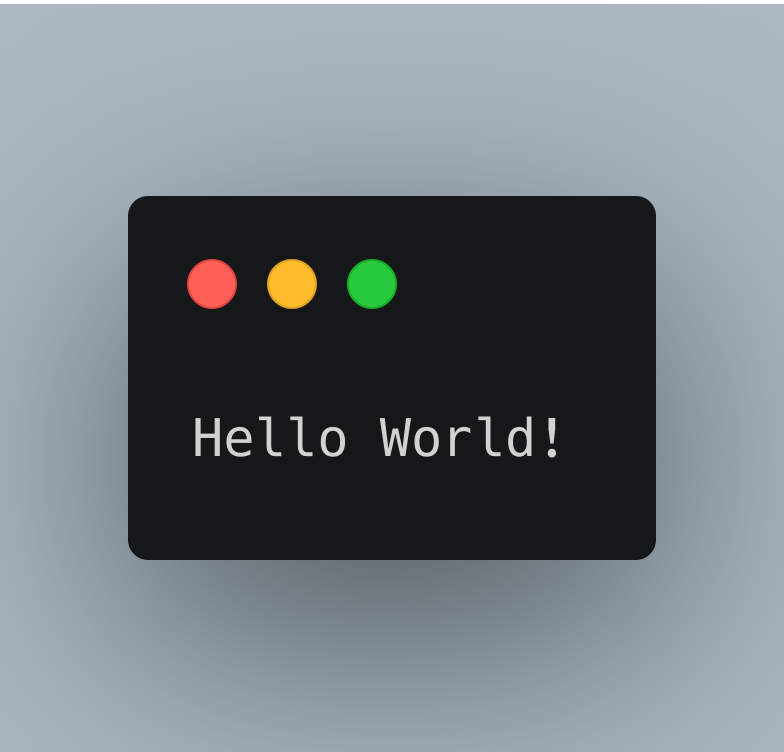
Woohoo !! , you just wrote your first line of code in .NET: Hello World!. You can also edit the Program.cs file to print something else to the console.
Editing the File
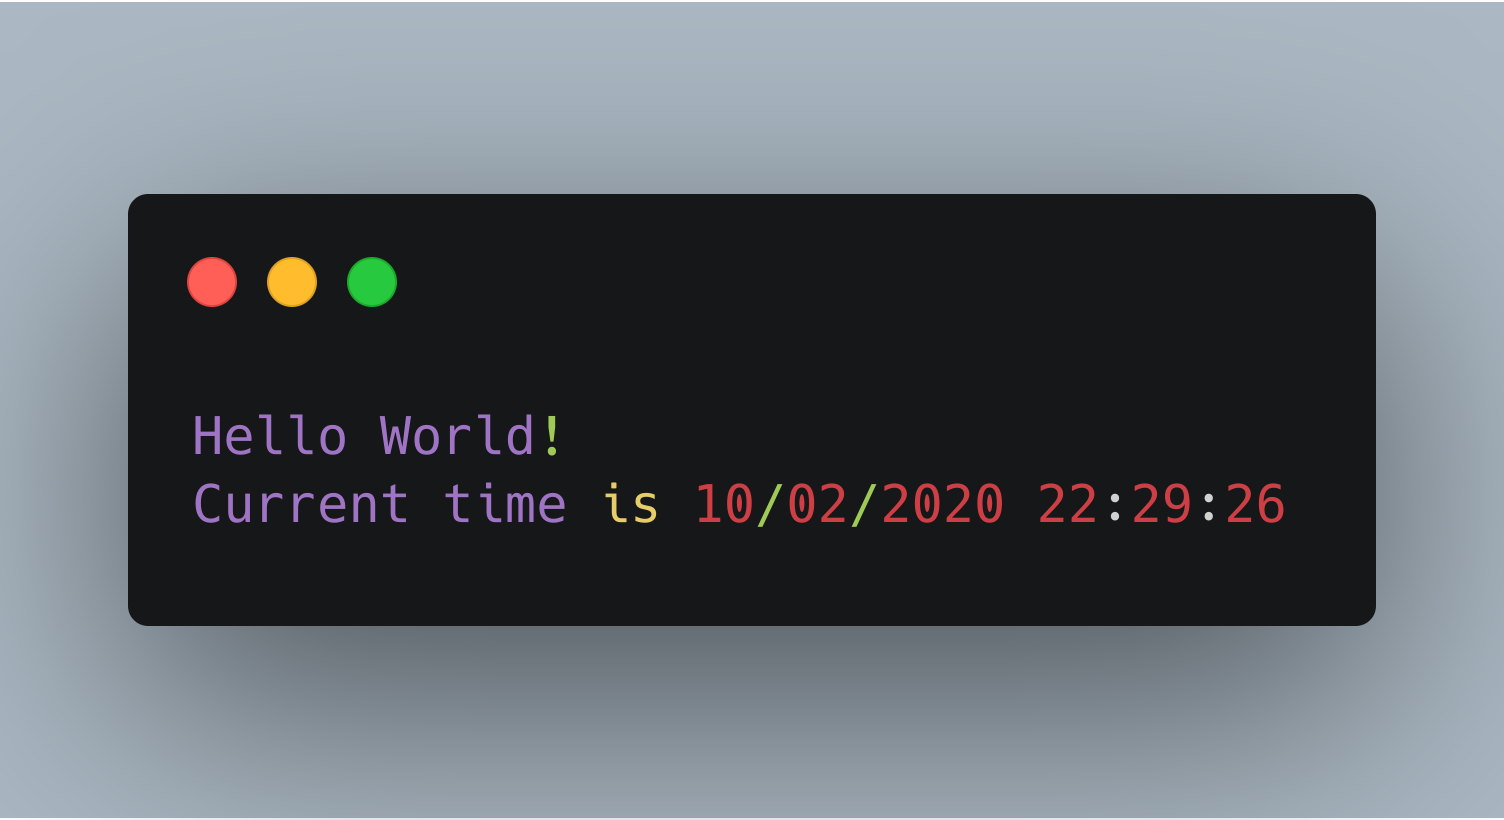
You can edit/add something to the file to print anything else you would like. To get started, open Program.cs file and add a new line of code below the Console.WriteLine("Hello World"):
Console.WriteLine("Hello World!");
Console.WriteLine("The current time is " + DateTime.Now);
Save the file and run dotnet run in your terminal.
The output of the above program will be something like this:
That is all for this tutorial. Stay connected with me, and more such tutorials will be coming soon on .NET and C#.